Display TFT da 7 pollici Raspberry pi 5 LCD con custodia Modulo portatile Capacità 1024 * 600 Touch panel Monitor schermo elettronico tipo-c
You will be redirected to AliExpress to complete your purchase
Specifications
- Marca
- JINGLITAI
- Origine
- CN (Origine)
- Modalità di visualizzazione
- 1000
- Prodotti chimici ad alto impatto
- Nessuno
- Risoluzione
- 08*01
- Numero di modello
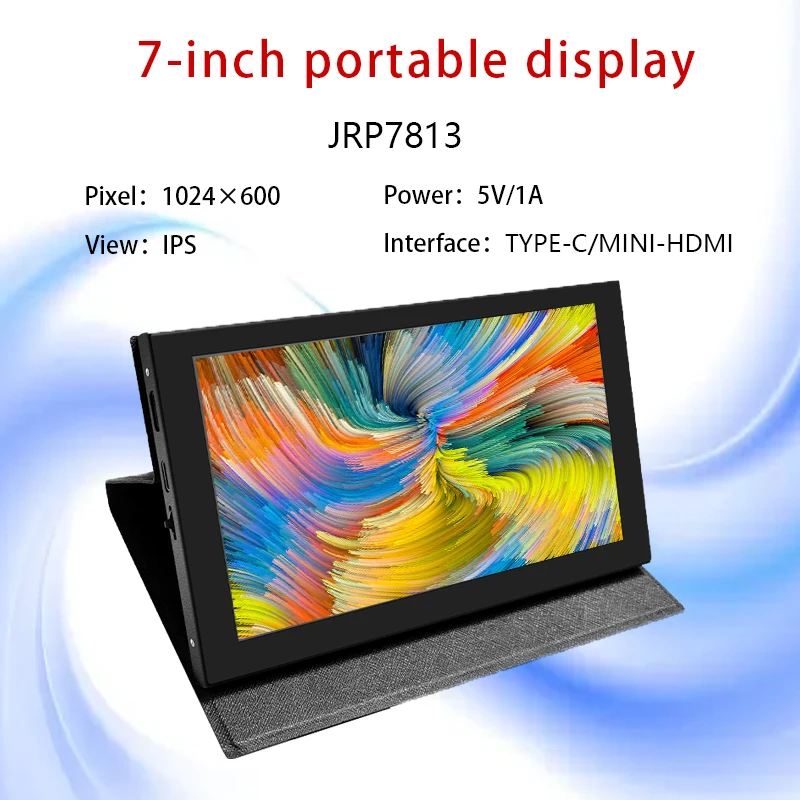
- JRP7813
- Tipo
- TFT
- è_personalizzato
- Sì
- Resolution
- 1024*600
- Size
- 7 inch
- Diver IC
- /
- Interface Type
- HDMI
- View Angle
- IPS
- Touch Panel
- CTP
- Screen Type
- LCD
- Certification
- CE,RoHS
- interface TYPE-C
- TYPE-C
Product Description
●7inch standard display, 1024 × 600 Hardware resolution, Up to 1920x1080 Software configuration resolution.
●Capacitive touch screen, maximum support 5point touch.
●Support backlight control alone, the backlight can be turned off to save power.
● Support Raspberry Pi, BB Black, Banana Pi and other mainstream mini PC.
●Can be used as general-purpose-use HDMI monitor, for example: connect with a computer HDMI as the sub-display .
●Used as a raspberry pi display that supports Raspbian, Ubuntu, Kali-Linux, Kodi, win10 IOT, single-touch, free drive.
●Work as a PC monitor, support win7, win8, win10 system 5 point touch (XP and older version system: single-point touch),free drive.
●CE, RoHS certification.
【ProductParameters】1
●Size:7.0 (inch)
● Resolution: 1024 × 600 (dots)
● SKU: JRP7813
● Touch: five-point capacitive touch
●Weight: 520 (g)
【How to use with Raspbian/Ubuntu Mate/Win10 IoT Core System】1
●Step 1, Install Raspbian official image
1) Download the
latest image from the official download.
2) Install the
system according to the official tutorial steps.
●Step 2, Modify the “config.txt”
After the programming of Step 1 is
completed, open the config.txt file of Micro SD Card root directory and add the
following code at the end of the file, save and eject Micro SD Card safely:
max_usb_current=1
hdmi_force_hotplug=1
config_hdmi_boost=10
hdmi_group=2
hdmi_mode=87
hdmi_cvt 1024 600 60 6 0 0 0
●Step 3, Insert the Micro SD Card to Raspberry Pi, connect the Raspberry Pi and LCD by HDMI cable; connect USB cable to one of the four
USB ports of Raspberry Pi, and connect the other end of the USB cable to the USB port of the LCD; then supply power to Raspberry Pi; after that if the display and touch both are OK, it means drive successfully (please use the full 2A for power supply).
★ How to rotate display direction:
1. Open the “config.txt” file (the “config.txt” file is located in /boot):
sudo nano
/boot/config.txt
2. Add the statement in the “config.txt” file, press Ctrl+X to exit, press Y to save.
display_rotate=1
#0: 0; 1: 90; 2: 180; 3: 270
3. Restart the Raspberry Pi after saving.
sudo
reboot
★How to rotate Touch direction:
After the display is rotated, the touch needs to be modified.
1. Install libinput
sudo
apt-get install xserver-xorg-input-libinput
2. Create the xorg.conf. D directory in /etc/x11 / below (if the directory already exists, this will proceed directly to step 3).
sudo
mkdir/etc/X11/xorg.conf.d
3. Copy the file “40-libinput.conf” to the directory you just created.
sudo cp
/usr/share/X11/xorg.conf.d/40-libinput.conf /etc/X11/xorg.conf.d/
4. Edit “/etc/X11/xorg.conf.d/40-libinput.conf”.
sudo nano
/etc/X11/xorg.conf.d/40-libinput.conf
Find a part of the touchscreen,add the following statement inside, press Ctrl+X to exit, press Y to save.7inch HDMI Display-C user manual.
Option
"CalibrationMatrix" "0 1 0 -1 0 1 0 0 1"
5. Restar your Raspberry Pi
sudo
reboot
Complete the above steps for a 90 degree rotation.
Note:
0 degrees of rotation parameters: Option "CalibrationMatrix" "1 0 0 0 1 0 0 0 1"
90 degrees of rotation parameters: Option "CalibrationMatrix" "0 1 0 0-1 1 0 0 1"
180 degrees of rotation parameters: Option "CalibrationMatrix" "-1 0 1 0 -1 1 0 0 1"
270 degrees of rotation parameters: Option "CalibrationMatrix" "0-1 1 1 0 0 0 0
【How to use as PC monitor】1
● Connect the computer HDMI output signal to the LCD HDMI interface by using the HDMI cable.
● Connect the LCD's USB Touch interface (Either of the two MicroUSB) to the USB port of the device.
● If there are several monitors, please unplug other monitor connectors first, and use LCD as the only monitor for testing.
A&Q
1.How to use it?
First plug in the USB line,and power up,then you can see HDMI in the display,so you can plug in HDMI line,like this you can enter the system.
2.can I use it in computer?
Yes,it can be used in the raspberry pi 3、raspberry pi 4,、raspberry pi zero W and mini pc.
Pros & Cons
Pros
- Progettato specificatamente per Raspberry Pi 5 con connessioni pronte all'uso
- Pannello touch capacitivo a 5 punti per un utilizzo intuitivo
- Risoluzione flessibile tra hardware 1024*600 e software fino a 1920x1080
- Spedizione gratuita e esentasse per gli ordini nel Brasile grazie al magazzino locale
Cons
- Non è indicato il driver IC integrato, quindi potrebbe richiedere configurazioni manuali aggiuntive
- La descrizione del prodotto è incompleta e tagliata nel dettaglio fornito
- Non è incluso l'alimentatore esterno per alimentare il display
- La luminosità dello schermo non è specificata nelle specifiche tecniche
Common Questions
Questo display TFT è compatibile con Raspberry Pi 5?
Sì, il prodotto è specificatamente concepito per funzionare con Raspberry Pi 5, grazie alle interfacce HDMI e Type-C disponibili.
Che tipo di pannello touch ha questo display?
È un pannello touch capacitivo (CTP) che supporta fino a 5 tocchi contemporanei.
Quali sono le dimensioni e la risoluzione dello schermo?
Lo schermo è di 7 pollici, con risoluzione hardware 1024*600 e può arrivare fino a 1920x1080 in configurazione software.
Posso usare questo display come schermo portatile per progetti elettronici?
Sì, si tratta di un modulo portatile perfetto per progetti con Raspberry Pi, automazioni o come schermo secondario portatile.
Ci sono costi di spedizione e dazi doganali per gli ordini in Brasile?
Sì, è stata aggiunta una rotta dal magazzino brasiliano con esenzione da dazi doganali e costi di spedizione.
Product information last updated on March 16, 2026