Handle Punching Locator Woodworking Newly Upgraded Adjustable Cabinet Door T-shaped Punch Cabinet Knobs Handles Pulls Tool
4.9112+ sold
£15.79£17.67
10% OFFBuy on AliExpress
You will be redirected to AliExpress to complete your purchase
Specifications
- Brand Name
- LTOOLS
- Origin
- Mainland China
- Material
- Metal
- High-concerned chemical
- None
- DIY Supplies
- Woodworking
- Type
- Combination
- Package
- BOX
- Application
- Wood Working Tool
- is_customized
- Yes
- Model Number
- Cabinet door handle punch
- Size
- 255*52*71mm
- producing area
- Chinese Mainland
- model
- Woodworking tools
- name
- Door handle punch
- Applicable scope
- Hole punching in the handle of the cabinet door
- Order number
- XY-DK-001H
- series
- XY-DK-001H
- Packing size
- 255*52*71mm
- Color
- Red
- Choice
- yes
- semi_Choice
- yes
Product Description
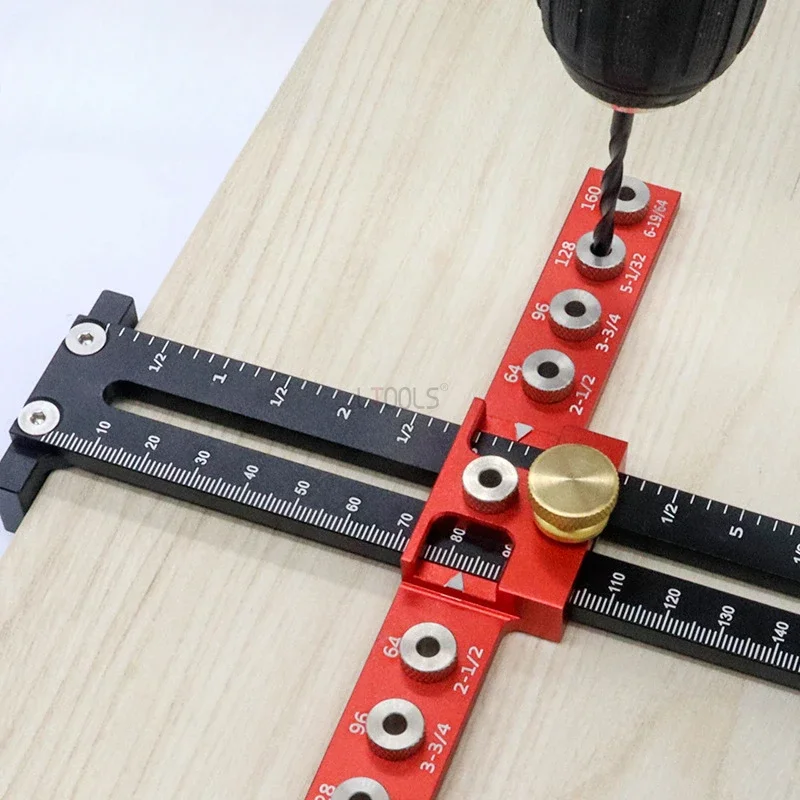
Handle Punching Locator Woodworking Newly Upgraded Adjustable Cabinet Door T-shaped Punch Cabinet Knobs Handles Pulls Tool
Feature:
Accurate positioning and fast drilling
Newly upgraded adjustable cabinet door T-shaped punch
Porous measurement/seamless fit/sturdy and durable
Installation display of punching locator
1. Loosen the fitting nut and remove the relevant accessories (Step 1) 2 Place the horizontal positioning punch ruler into the vertical scale (pay attention to the insertion direction) (Step 2) 3 Install the upper limit fixing screw (Step 3), install the game (Step 4) 4 Install the fixing nut and tight it. (Step 5)
5. Install the longitudinal sliding backup plate and tighten the screws (Step 6)
Product information last updated on December 19, 2025