4.3inch HDMI LCD display 800×480 capacitive touch screen for Raspberry Pi 5 4B 3B 3B 2B B+ B 3A+ A+ Zero W Zero
You will be redirected to AliExpress to complete your purchase
Specifications
- Brand Name
- iPistBit
- Origin
- Mainland China
- Display Mode
- 500
- High-concerned chemical
- None
- Resolution
- 800*480
Product Description
More information download://www.lcdwiki.com/4.3inch_HDMI_Display-C
Product Description
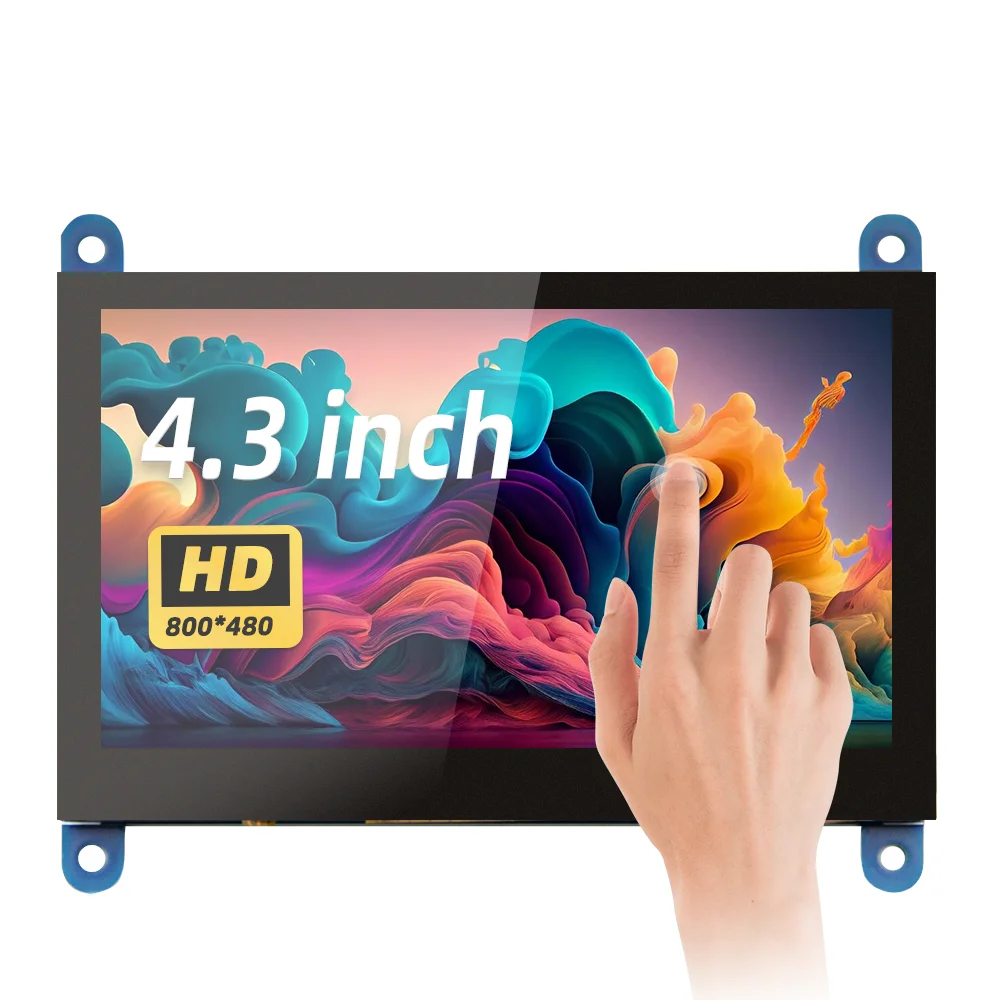
4.3"standard display, 800x480 resolution,maximum HDMI resolution 1920X1080 is supported
Capacitive touch screen, support 5 point touch maximum
Built-in OSD menu adjustment function (adjustable Contrast/ Brightness/Saturation, etc.)
It is compatible with mainstream mini PC such as Raspberry Pi, BB Black, Banana Pi
It can also be used as a general-purpose HDMI display, connecting computers, TV boxes, Microsoft Xbox360, SONY PS4, Nintendo Switch and so on
Used as a Raspberry Pi display that supports Raspbian, Ubuntu, Kodi, Win10 IOT, single-touch, free drive
Work as a PC monitor, support Win7, Win8, Win10 system 5 point touch (XP and older version system: single-point touch), free drive
Support HDMI audio output,Backlight brightness can be adjusted
CE, RoHS certification
Product Parameters
Size: 4.3 (inch)
SKU: MPI4305
Resolution: 800 × 480 (dots)
Touch: 5 point capacitive touch
Audio output: support
Dimensions: 106.00*85.31(mm)
How to use with Raspbian/Ubuntu Mate/Win10 IoT Core System
Step 1, Install Raspbian official image
Download the latest image from the official download.
Install the system according to the official tutorial steps.
Step 2, modify the “config.txt”
After the programming of Step1 is completed, open the config.txt file of TF card root directory and add the following code at the end of the file, save and eject Micro SD Card safely:
hdmi_force_edid_audio=1
max_usb_current=1
hdmi_force_hotplug=1
config_hdmi_boost=7
hdmi_group=2
hdmi_mode=87
hdmi_drive=2
hdmi_cvt 800 480 60 6 0 0 0
Step 3, Drive the 5inch HDMI Display-B with the Raspberry Pi
Insert the TF Card to Raspberry Pi, connect the Raspberry Pi and LCD by HDMI cable; connect USB cable to one of the four USB ports of Raspberry Pi, and connect the other end of the USB cable to the USB port of the LCD; then supply power to Raspberry Pi; after that if the display and touch both are OK, it means drive successfully (please use the full 2A for power supply).
How to use as PC monitor
Connect the computer HDMI output signal to the LCD HDMI interface by using the HDMI cable
Connect the LCD's USB Touch interface (Either of the two MicroUSB) to the USB port of the device
If there are several monitors, please unplug other monitor connectors first, and use LCD as the only monitor for testing.
How to rotate the display direction
Method 1,If the driver is not installed, execute the following command (Raspberry Pi needs to connected to the Internet):
sudo rm -rf LCD-show
git clone //github.com/goodtft/LCD-show.git
chmod -R 755 LCD-show
cd LCD-show/
sudo ./MPI5001-show
After execution, the driver will be installed. The system will automatically restart, and the display screen will rotate 90 degrees to display and touch normally.
( ' XXX-show ' can be changed to the corresponding driver, and ' 90 ' can be changed to 0, 90, 180 and 270, respectively representing rotation angles of 0 degrees, 90 degrees, 180 degrees, 270 degrees)
Method 2,If the driver is already installed, execute the following command:
cd LCD-show/
sudo ./rotate.sh 90
After execution, the system will automatically restart, and the display screen will rotate 90 degrees to display and touch normally.
( ' 90 ' can be changed to 0, 90, 180 and 270, respectively representing rotation angles of 0 degrees, 90 degrees, 180 degrees, 270 degrees)
If the rotate.sh prompt cannot be found, use Method 1 to install the latest drivers
Product information last updated on April 11, 2026